23 Sep iMessage: Everything You Need To Know
There is much more to know about iMessage than just sending a message to a fellow iOS user. Whether you’re using an iPhone, iPad and/or iPod Touch, get the most out of your iMessage with our guide.
What is iMessage?
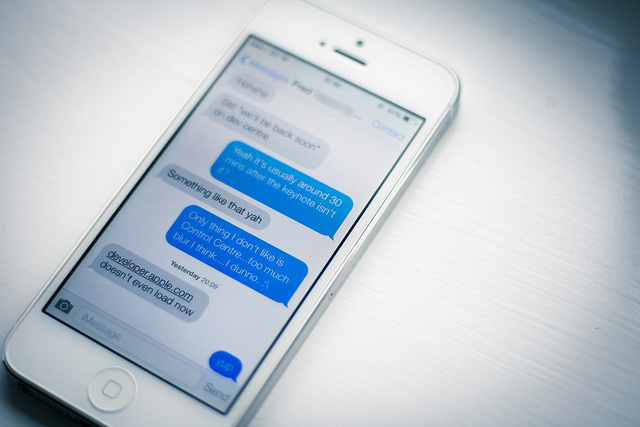
Running on devices iOS 5 or higher, iMessage is a proprietary service provided by Apple that allows you to send and receive SMS- and MMS-like messages on your iPhone, iPad, iPod touch, or Mac from other iMessage users. The great thing about iMessage, is that it only uses data (either WiFi or cellular), which means if you are using WiFi, your SMS and MMS messages are essentially free.
Free SMS and MMS messages are great, but did you know iMessage offers more? With iMessage, you can also send photo and video messages with iMessage, contacts, voice memos, and locations. iMessage is only available to any device running iOS 5 and above and any Mac running OS X 10.8 Mountain Lion or higher. Please note that iMessage is not supported by Android or Windows devices.
So, what is there to know about iMessage? Check out our guide below!
How To: Activate iMessage
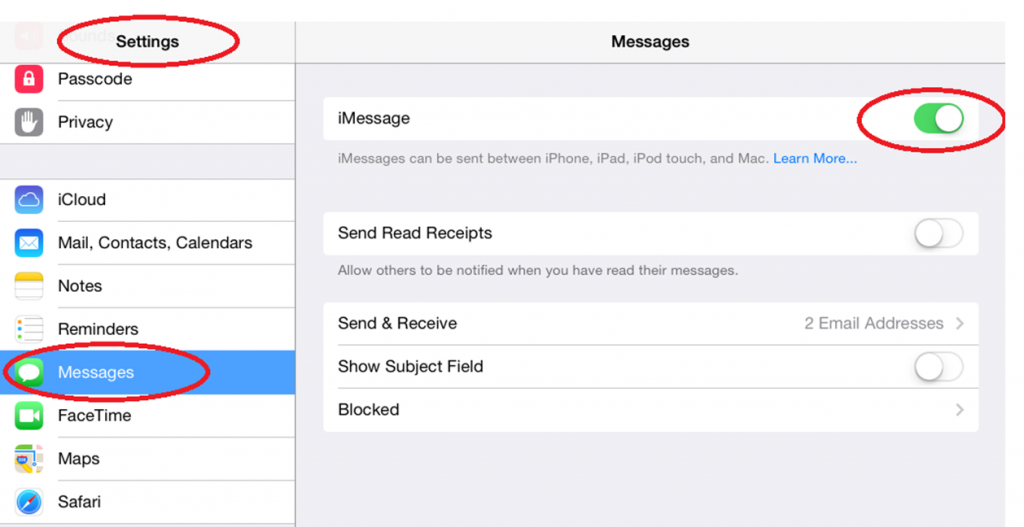
Open Settings > Messages > Turn iMessage to ON 
How To: Add an Additional Email Address
In addition to receiving iMessages via your phone number, iMessages can also be sent to your Apple ID email address on iOS and OS X.
If you would like your iMessages sent to another email address, such as Gmail, Yahoo, Exchange etc, you firstly need to make sure the website is not already an existing Apple ID. You can only have one Apple ID linked to an iMessage account at a time.
Note: If your email address is @iCloud.com, @me.com or @mac.com, your email address is automatically an Apple ID. Similarly, the email address associated with your iTunes or FaceTime account are Apple IDs.
To set up another email address for iMessage:
Open Settings > Messages > Send and Receive > Add Another Email > Type the email address and click Return. An email will be sent you to verify the email address. Once you have verified the email address, you’re ready to start sending iMessages from the new email. 

How To: Send Photos or Videos
- Launch the Photos app
- Select the Image or Video you want to send
- Tap the Share Button
- Select the Message icon
- Select the Contact you want to send to
- Tap Send
How To: Send Contact Cards
Contact cards or vCard files (vcf) make it easy to send contact information from your iPhone, iPad or Mac, whether your using iMessage or standard SMS. As long as you have all the information saved in your Contacts app, you can send phone numbers, email addresses, street addresses and any other contact info.
- Open the Contacts or Phone App
- Select the Contact
- Tap the Share Button
- Message icon
- Select the Contact you want to send to
- Tap Send
How To: Send Map Locations
- Open the Maps app
- Tap the Share Button
- Tap on Current Location
- Tap the Message icon
- Select the Contact you want to send to
- Tap Send
How To: Turn Off/On Read Receipts
Read Receipts allow your contacts to see whether you have viewed their message. While the usefulness of this feature may extend only to work related communications, here’s how to turn this feature on or off.
Open Settings > Messages > Turn Read Receipts to ON or OFF 


How To: Copy or Forward iMessages
- Open the Messages app
- Find the message you want to copy
- Hold your finger down on the message until you get a pop-up menu
- Select Copy
- Paste wherever you like
How To: Turn iMessage Preview and Alerts On/Off
iOS gives you the option of whether you would like to alerts for new messages to appear on the lock screen and in the notification center as well as whether you would like to see a preview of the message.
While being able to preview the message from the lock screen or notification center is convenient, it does reduce your privacy by allowing anyone to see the preview.
To turn these features on or off, check out the steps below:
To Turn Alerts For New Messages On Or Off:
Settings > Notification Centre > Messages > Turn Show On Lock Screen to ON or OFF
To Turn Message Previews On Or Off:
Settings > Notification Centre > Messages > Turn Show Preview to ON or OFF 


How To: Disable iMessage on iPhone if you Switch to Android or Windows
Unfortunately, iMessage is not available for any devices other than iOS or OS X devices.
So, if you are switching to an Android or Windows device it’s important you deactivate iMessage before you switch to ensure you continue receiving messages from your contacts that use iOS devices.
To deactivate iMessage:
Settings > Messages > Turn iMessage to OFF 
How To: Report iMessage Spam to Apple
- Take a screen shot of the message you have received
- Create an email, addressed to: imessage [dot] spam [at] icloud [dot] com
- Attach the screen shot to the email
- Include the number or email address you received the unwanted message from AND the date and time you received the unwanted message
- Send the email
How To: Block A Contact
If you become the victim of unwanted phone or FaceTime calls or iMessages, you can easily block the person to stop them from contacting you again.
To block a contact:
- Open Settings
- Tap on either Phone, Messages or FaceTime
- Tap Blocked
- Select Add New
- Select the contact you want to block from your contact list.
Your device will now add every phone number and email address you have listed for that contact to your blocked list.
Note: This feature is only available for devices running iOS 7 and above.


